In a nutshell
- Rovaniemi's average temperature in January sits between -30 and -15 degrees Celsius, so the layers you choose decide how long you enjoy the night.[1]
- An insulated thermal suit used for Arctic activities can be rated to minus 40, but a damp cotton base layer defeats its insulation.[2]
- Green aurora comes from oxygen at 100-150km, red from oxygen above 200km and violet from ionized nitrogen below 100km.[3]
- The guaranteed sightings tour runs for 8 hours, so treat your clothing as kit for a full night rather than a quick stop.[4]
- Rovaniemi has visible aurora roughly 8 months a year, from late August through mid-April, so the same layers serve you across most of the year.[5]
- Top choice Guaranteed Sightings from US$228 Duration8 hours[4]Group sizeLimited to 8 participants[4]Rating4.64 from 4,381 reviews[4]CancellationCancel up to 24 hours in advance[4] Check availability
- Wilderness Tour from US$148 Duration4 hours[6]Group sizePrivate or small groups available[6]Rating4.34 from 1,530 reviews[6]CancellationCancel up to 24 hours in advance[6] See this tour
- Snowmobile Safari from US$160 Duration4 hours[7]Group sizeGroup size not statedRating4.33 from 1,135 reviews[7]CancellationCancel up to 24 hours in advance[7] See this tour
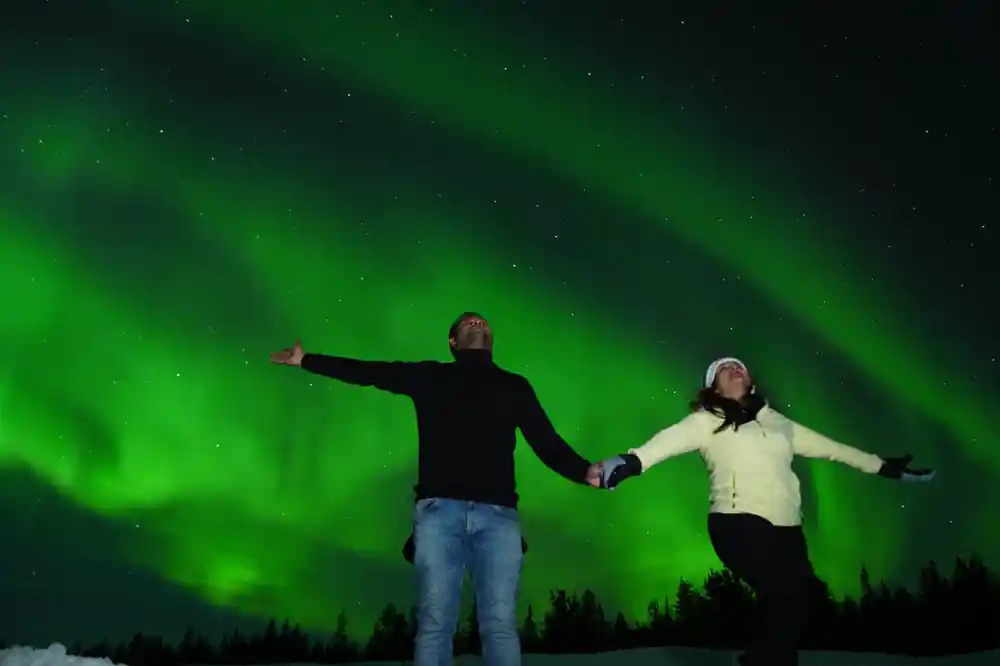
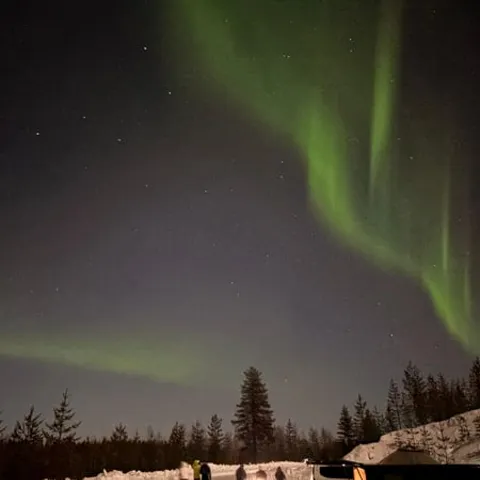
Get them wrong, in cotton, and you will be cold in a suit rated to minus 40, because damp cotton against skin defeats any amount of insulation over the top.
Is the guaranteed sightings tour worth dressing up for?
Pack and wear
- Wool or synthetic base layer, with a spare in a dry bag
- Insulated boots with room for thick wool socks
- Fleece or wool mid-layer that fits under your outer suit
- Head torch for dark car parks and uneven snow
Before pickup
- Booking reference and photo ID ready for the guide
- A warm meal before a long evening outdoors
- Phone and camera batteries charged, power bank packed
- Tell your guide early if you feel cold or need a break
Gear, Suits and What to Confirm Before You Pack
Aurora hunting in Lapland is mostly a standing-still business. You ride out of town, then you stand in a clearing, on a lake shore or along a forest track, looking up, for far longer than most people expect. Rovaniemi Lapland temperature is the question everyone asks, and the useful answer is that dry cold is manageable when your clothing works in layers rather than as a heavy outer layer alone. The usual mistake is not thin clothing. It is damp clothing and tight clothing.
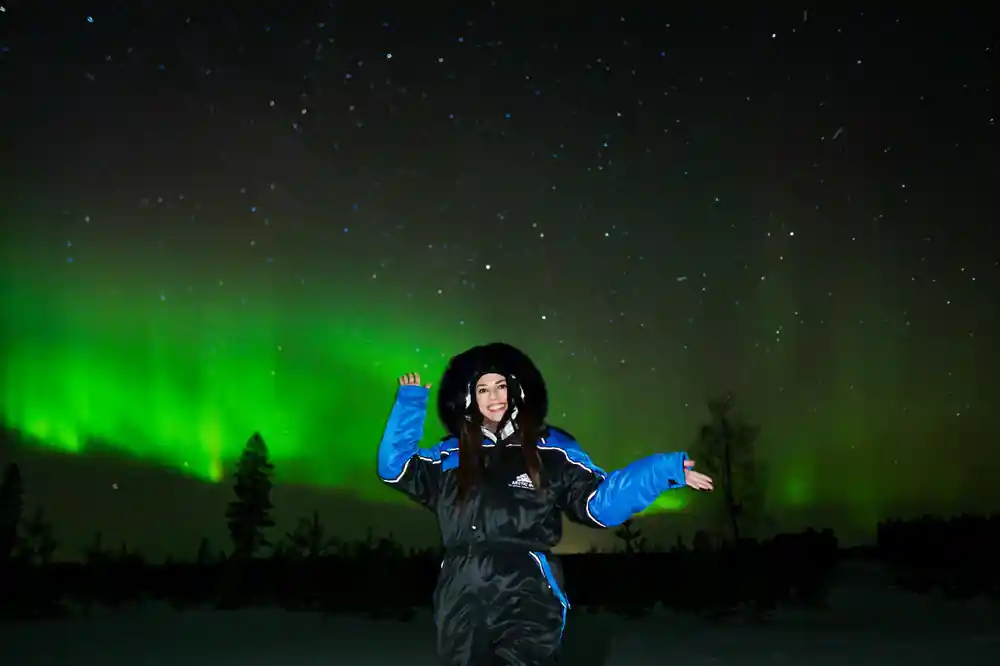
Before you pack, ask what your operator hands out. Find out whether a thermal suit, boots and gloves are part of your booking, what sizes are available, and whether the suits are cut to fit over your own clothes. The guaranteed sightings tour includes pickup, with the details shown when you check availability.[4] If your booking is a small hunt in a van rather than a snowmobile or sled trip, confirm whether outer gear is included, because that decides how much you carry.
It also helps to know how long you will be out. The guaranteed sightings tour runs for 8 hours, so treat it as a full night rather than a quick stop and dress for the long cold stretches between photo breaks.[4] Eat something warm before pickup, carry a snack that stays close to your body so it does not freeze, and expect to be tired when you get back to town. A flask of something hot is a small luxury that pays for itself.
Base and Mid-Layers: The Foundation Under Your Suit
The layer nearest your skin decides whether everything above it works. Wool and synthetic fabrics move moisture away from the body. Cotton holds it, and damp cotton is the classic reason a good suit stops feeling warm. An insulated thermal suit used for Arctic activities can be rated to minus 40, but a damp cotton base layer defeats its insulation.[2] If you are investing in one serious piece of winter kit, make it the base layer.
Put a fleece or a wool sweater over that base layer, then your outer suit or shell. The middle layer is where air gets trapped, and trapped air is the insulation that keeps you comfortable. A thin down or synthetic jacket can work as a mid-layer under a roomy outer suit, but test the combination at home first, so you are not fighting a stuck zip in the dark with your gloves off.
Spare base layers earn their space in your bag. If you sweat on the drive out or while setting up a camera, changing the damp layer before the long wait restores most of your warmth. In January the average temperature in Rovaniemi sits between -30 and -15 degrees Celsius, so a dry layer is not a small detail on a clear, still night.[1] Pack the spare in a dry bag, not loose in a rucksack where snow can reach it.
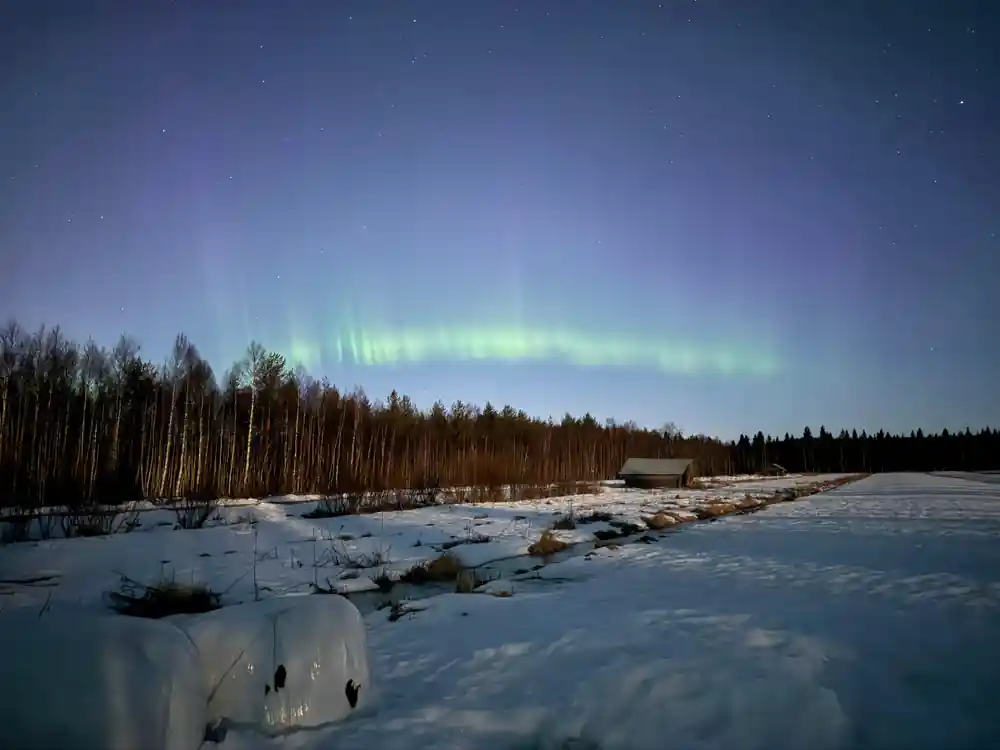
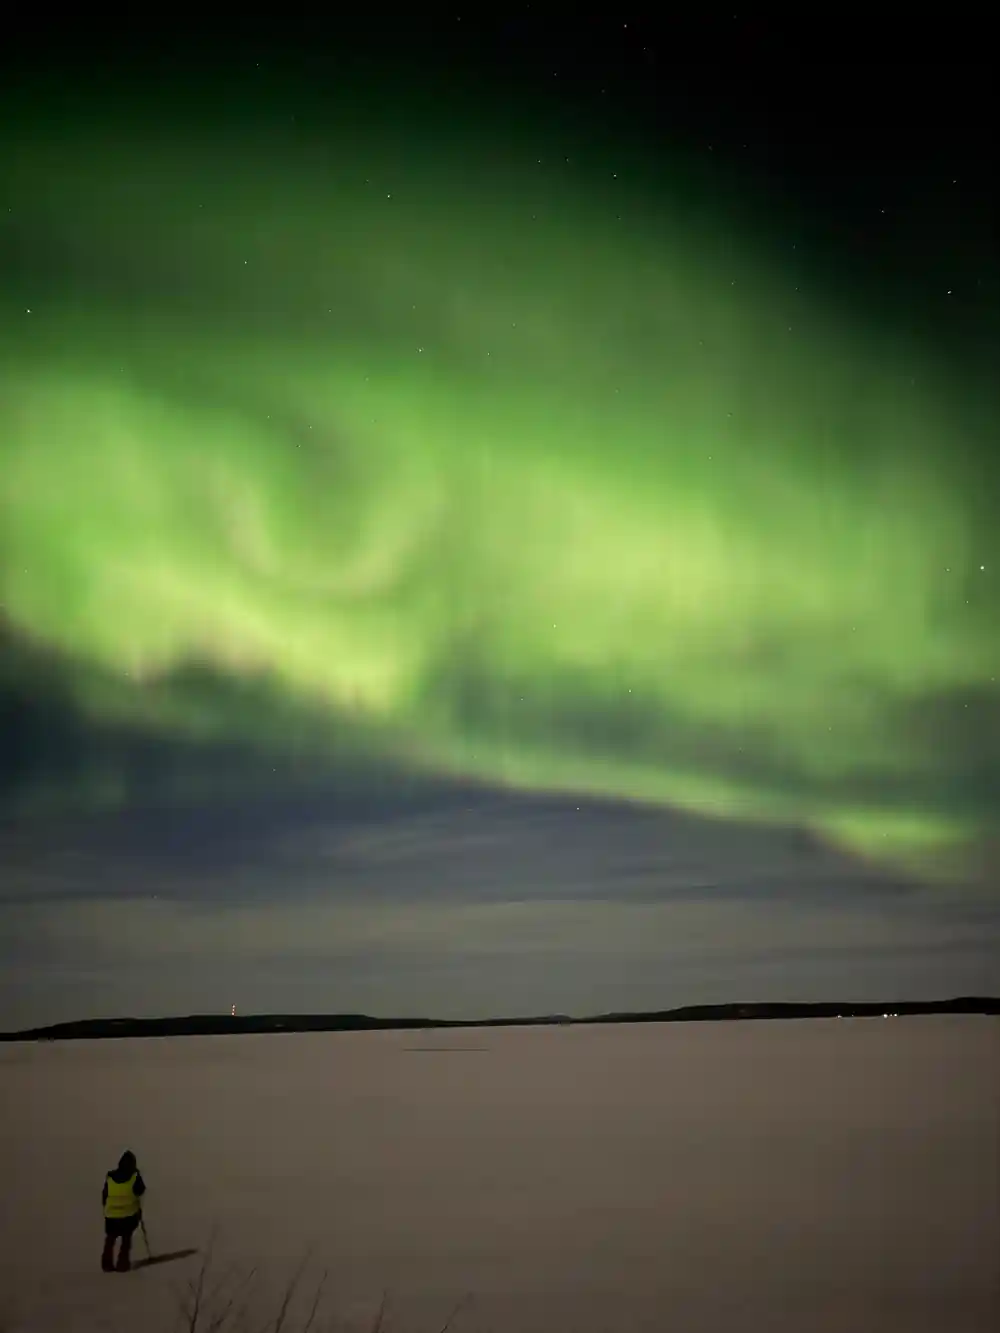
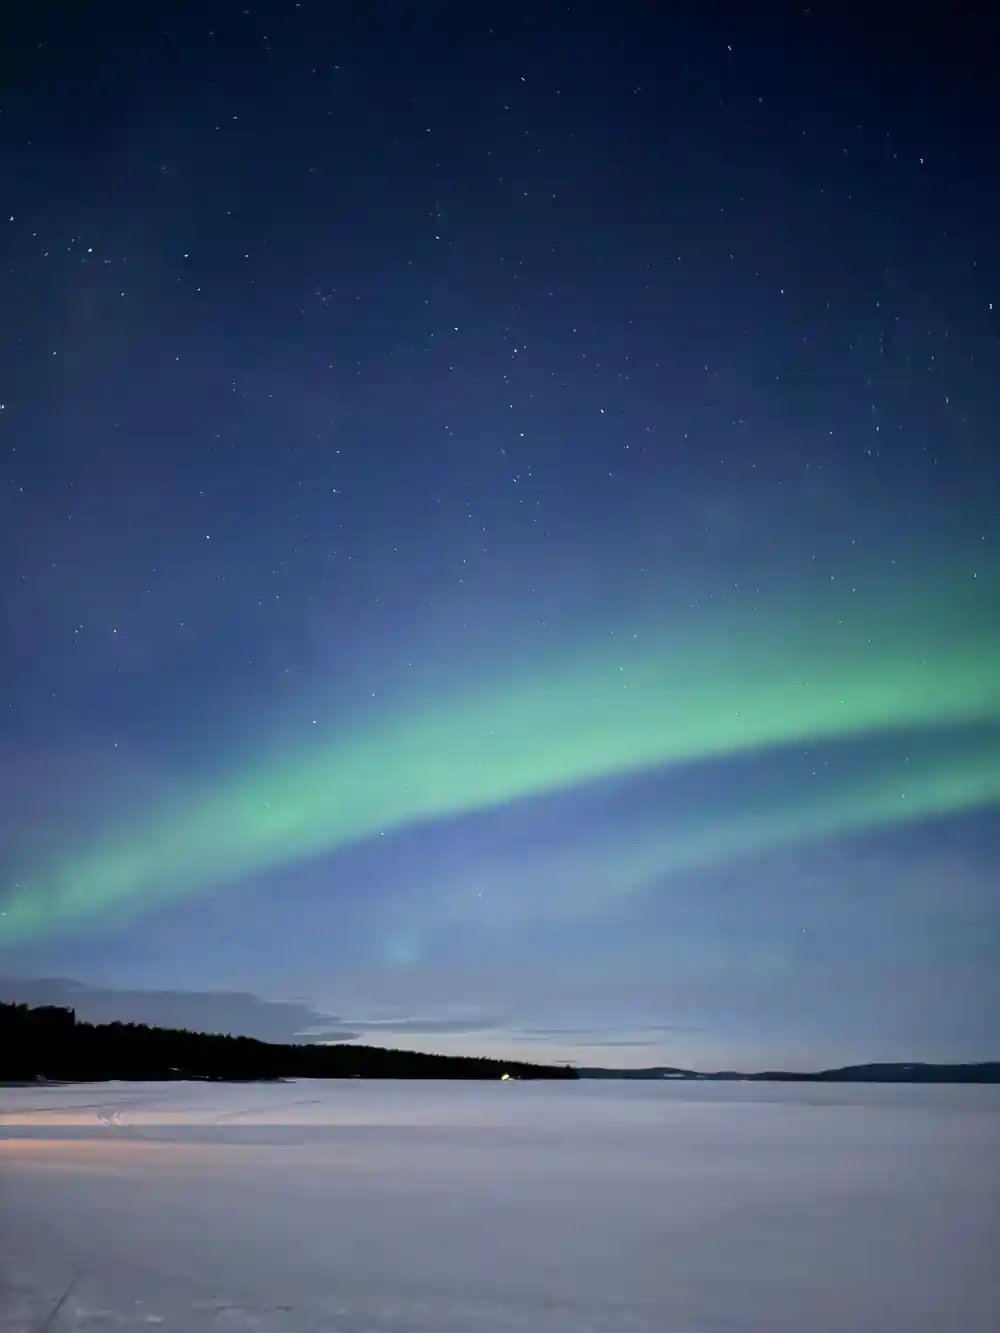
Waiting out a Lapland night, with the aurora still to come.
Footwear for Standing Still: Boots That Insulate
Most aurora trips are not walks. You step out of a warm van into snow and then barely move while you watch the sky. Insulated boots with a thick sole and enough room to wiggle your toes keep blood moving. Boots that pinch cut circulation, and tight boots are the quickest route to painful feet that end your evening early.
Wear wool socks and pack a spare pair. Cotton socks behave like a cotton base layer and hold moisture against the skin, which is exactly what you do not want inside an insulated boot. If your operator provides boots, try them on before you leave the pickup point, since a size that fits in a warm shop may not fit over thick wool socks. A thin liner sock under a thicker wool sock is a comfortable combination for a long wait.
Think about where you will put your feet when you step out. Snow around Rovaniemi can be deep and uneven, and the light through the darker months is scarce. In Rovaniemi the polar night lasts for 2 days, so most winter evenings do still have some daylight in them, though it fades early.[8] A head torch or a phone light helps you find your footing at the van and keeps your hands free for the camera.
Gloves and Camera Operation: Hand Warmth and Control
Hands suffer first, because you keep pulling them out of your pockets to adjust a camera, a phone or a zip. Liner gloves in merino or a thin synthetic, worn under mittens, let you work quickly and get your fingers back into the warm. Mittens beat gloves for standing still, since fingers share heat when they touch each other. Hand warmers in your mittens are a good backup, not a substitute for proper layers.
If you plan to photograph the aurora, practise at home in the cold with your gloves on. Manual focus, a wide aperture, a tripod and long exposures are the usual recipe, and none of it is easy with numb fingers. Keep a spare battery in an inside pocket, leave the camera on the tripod between shots rather than in your hands, and set up before the lights appear so you are not fumbling in the dark.
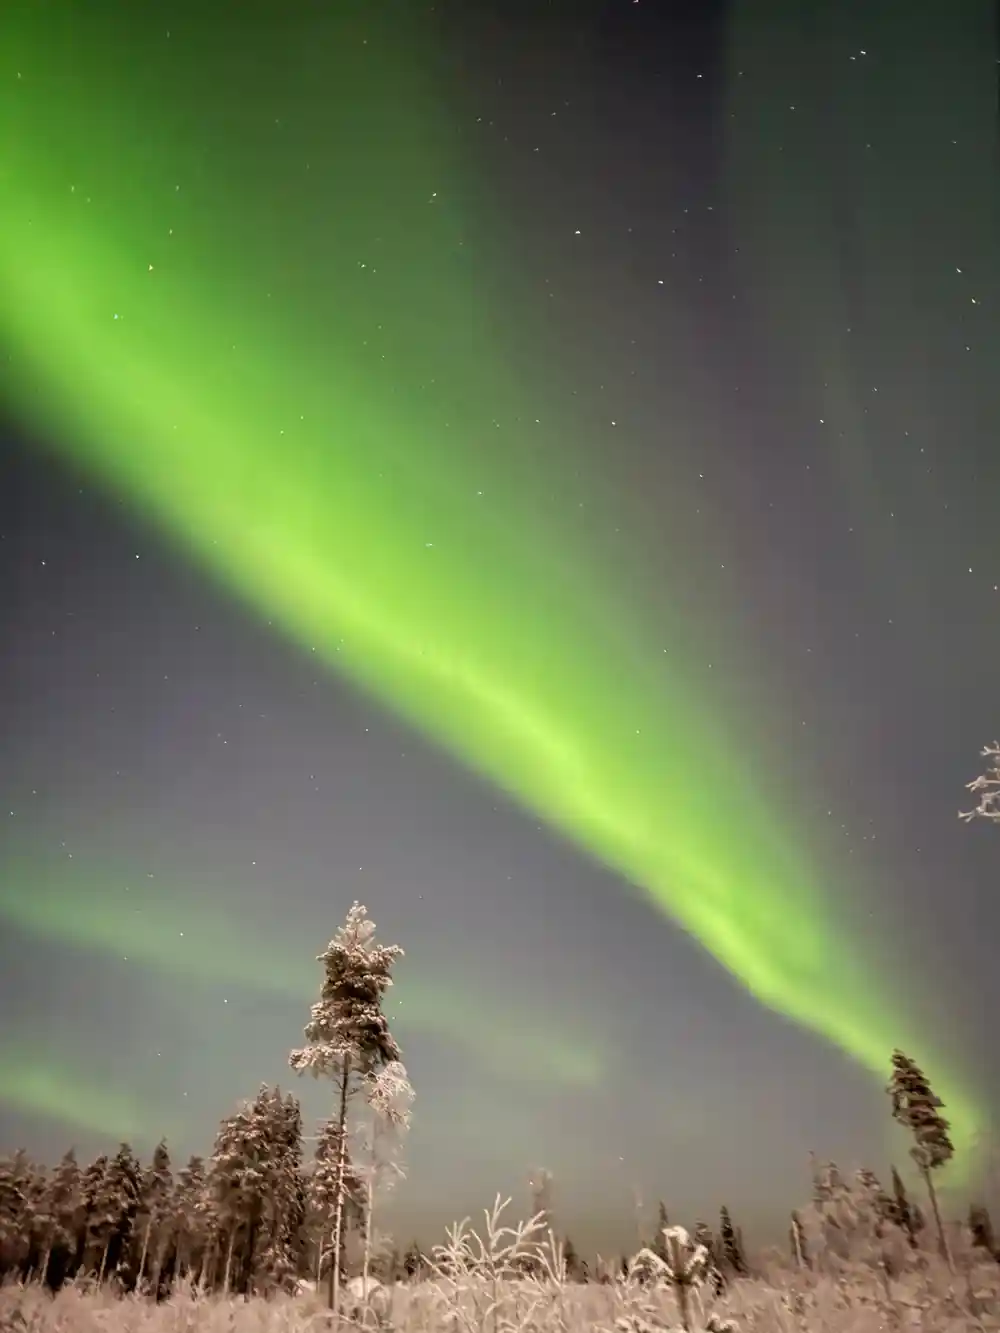
The sky is worth knowing as well as the kit. Green aurora is caused by oxygen at 100-150km, red by oxygen above 200km and violet by ionized nitrogen below 100km.[3] Cameras pick up colour that your eyes often read as pale grey, so a long exposure can surprise you with what was actually overhead. That is also a reason to keep checking the screen, and to look up between frames.
from US$228
Small group capped at 8 participants, a live guide in English, and guaranteed viewing or a refund if conditions make it impossible.[4]
Glasses, Contacts and Vision in the Polar Night
Glasses fog the moment you step from a warm van into cold air, and then again when you breathe under a scarf. Anti-fog wipes help, and a buff worn low over the nose leaves a gap for your breath to escape upwards rather than into the lenses. Contact lenses work well in the cold, but the air is dry, so pack lubricating drops and a spare pair of glasses for the ride home.
Give your eyes time to adapt once you arrive at a dark spot. The aurora is often faint rather than blazing: the Kp index ranges from 0 to 9, and for Kp in the range 0 to 2 the aurora will be far north, quite dim in intensity, and not very active.[9] Screens and white torches reset your night vision, so use a red light if you need one and keep checking the sky rather than your phone.
It is also worth knowing what you are looking at. Finnish tradition calls the lights revontulet, literally fox fires, and a Sami legend says the lights come from a magical fox running across the Arctic fells.[10] That story is a good thing to hold in your head while your eyes adjust and the sky slowly fills in above the trees.
Phone Batteries and Electronics in Extreme Cold
Lithium batteries do not like the cold. A phone that shows plenty of charge indoors can shut down quickly in the open, just when you want it for photos or for finding the van. Keep it in an inside pocket next to your body, keep a power bank there as well, and treat hand warmers in that pocket as part of the system rather than a novelty.
Cameras cope better, but only if you look after the batteries. Rotate your spares through your inside pockets during the evening, and expect condensation when you bring cold gear into a warm room. Leave the camera in its bag and let it come up to room temperature slowly before you clean the lens.
Forecasting helps you decide when to go. Solar Cycle 25 is expected to have a double peak, which will extend the window for aurora activity well into 2026.[11] Check the cloud forecast and the aurora forecast before you leave, charge everything the afternoon before, and pack a short charging cable so you can top up from a power bank in the van while you travel between stops.
Identification, Final Checks and Getting Back to Town
Carry your booking reference and a photo ID for the pickup, and be ready ahead of the stated time. Aurora vans work through a list of stops around Rovaniemi and further out, and the driver will not wait long at a hotel entrance in the cold. Wear your warmest layers on the drive, because the first stop can come sooner than you think.
Check the Santa Claus Village temperature before an evening there, and note that the Arctic Circle line itself runs through the village, eight kilometres north of the city centre, where it is clearly marked.[12] If your night ends at the village rather than out in the fells, you will still want every layer you packed, plus a windproof shell for the walk between the car park and the lights.
Finally, plan the end of the night. A long aurora tour finishes late, and you will be cold, hungry and not in the mood to cook. Have something easy waiting at your accommodation, leave your boots somewhere they can dry, and hang your base layers out so they are dry for the next evening. Dry kit is warm kit, and on a clear Lapland night that is most of the battle.
Traveller scores for aurora tours from Rovaniemi
Scores as published on these GetYourGuide listings:[4][6][7][13]
Aurora tours compared by from-price
From-prices in US dollars as shown on these GetYourGuide listings:[4][6][7][13]
When to book an aurora night in Rovaniemi
Dress for an aurora night
Start with a dry base layer
Merino wool or synthetic fabric moves moisture away from your skin. Cotton holds it, and damp cotton defeats a suit rated to minus 40.[2]
Add a warm mid-layer
A fleece or wool sweater traps air between the base layer and the outer suit. Keep it snug but not tight, so blood keeps moving in your arms and legs.
Sort out boots and socks
Insulated boots with room for a thick wool sock beat tight boots every time. Take a spare pair of socks and change them if your feet get damp.
Cover hands, head and face
Liner gloves under mittens let you use a camera without baring your hands. A hat and a buff or balaclava keep heat in and let you pull your hood up.
Protect phones and batteries
Cold drains batteries fast, so keep your phone in an inside pocket and carry a power bank. Spare camera batteries belong close to your body.
Small group, guaranteed sightings, and a refund if conditions say no
from US$228Reserve now & pay later