In a nutshell
- The Northern Lights Tour with Guaranteed Sightings runs 8 hours in a group limited to 8 participants, from US$228.[1]
- Night mode, a steady rest and a dim screen do most of the work. Keep the flash off and check the frame after every shot.
- Aurora collisions happen above 100 km (60 miles), and a camera gathers far more colour over a long exposure than your eyes do.[2]
- January averages sit between -30 and -15 degrees Celsius in Rovaniemi, so batteries need a warm pocket and a spare.[3]
- Rovaniemi has visible aurora roughly 8 months a year, from late August through mid-April, and the current solar cycle runs into 2026.[4][5]
- Top choice Guaranteed Sightings from US$228 Duration8 hours[1]Group sizeLimited to 8 participants[1]Rating4.64 from 4,381 reviews[1]PickupPickup included[1]CancellationCancel up to 24 hours in advance[1] Check availability
- Guaranteed Aurora Hunt from US$80 Duration5 - 8 hours[6]Group sizePrivate or small groups available[6]Rating4.85 from 1,296 reviews[6]PickupPickup available[6]CancellationCancel up to 24 hours in advance[6] See this tour
- Wilderness Tour from US$148 Duration4 hours[7]Group sizePrivate or small groups available[7]Rating4.34 from 1,530 reviews[7]PickupPickup included[7]CancellationCancel up to 24 hours in advance[7] See this tour
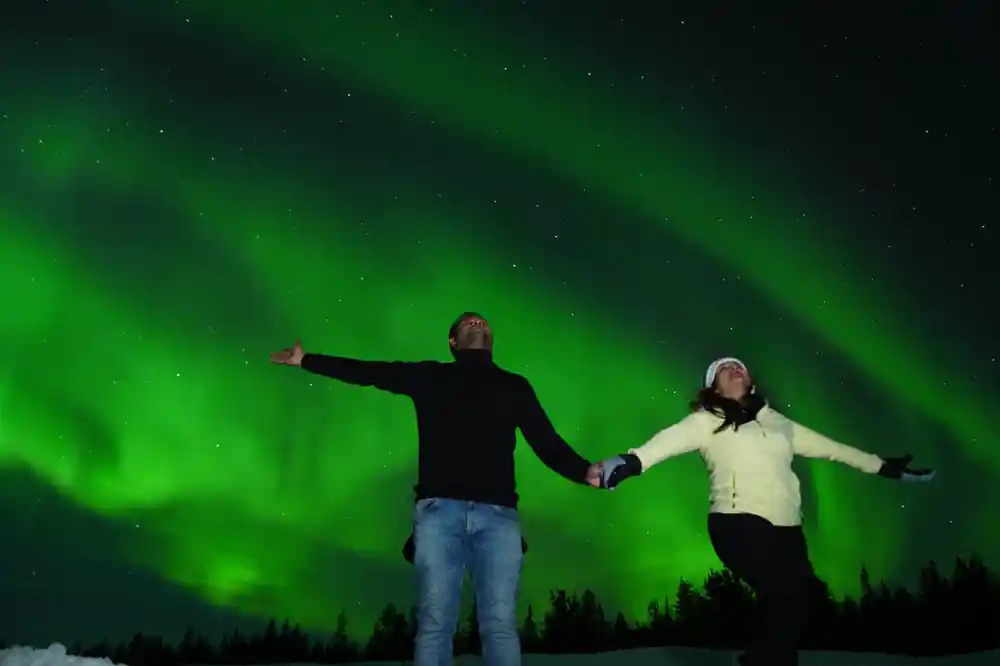
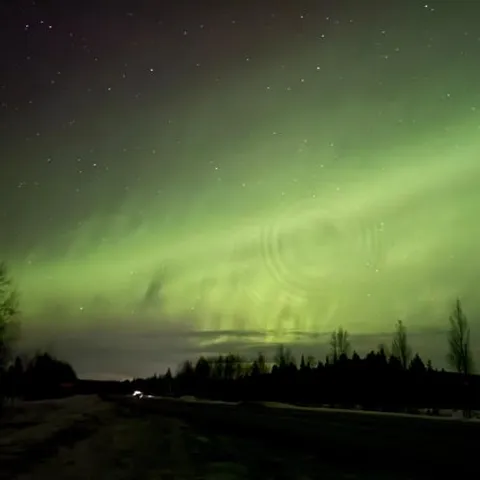
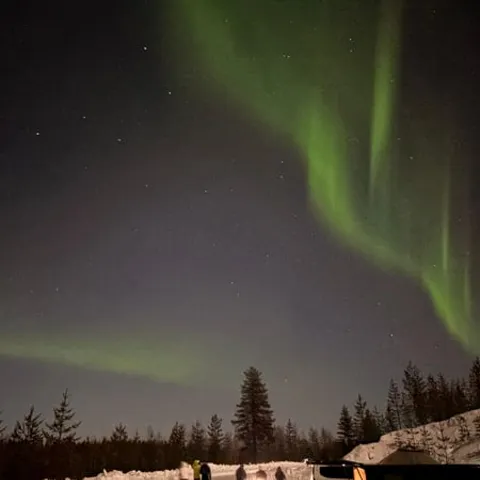
The short answer: Rovaniemi has visible aurora roughly 8 months a year, from late August through mid-April.
Worth booking for aurora photos
On the night
Photo kit
- Turn the flash off and dim the screen so you do not wash out other people's shots
- Brace the phone on a tripod, a rock or a railing and let night mode stack its frames
- Keep spare batteries in an inside pocket, close to your body
- Plan for the season: visible aurora roughly 8 months a year, late August to mid-April[4]
Your DSLR Photos: When They Arrive and How
A night out with a camera in Lapland has two halves. The first is the shoot itself: standing in the dark, cold hands, and a small screen showing something that may or may not be green. The second half comes later, back in a warm room, when the files open on a laptop and the aurora is suddenly there in the frame. Expect the second half to be the rewarding one.
Set the camera up before you leave, in the light. Switch to manual, focus at or near infinity, and lock the focus, so a bump in the dark does not ruin every frame. Learn where the shutter delay lives, so your first press does not shake the tripod. Pack a microfibre cloth: your breath will fog the lens and the viewfinder the moment you put your eye to it.
Having a long, unhurried night helps more than any gadget. The Northern Lights Tour with Guaranteed Sightings runs for 8 hours and is limited to 8 participants, and the listing offers guaranteed northern lights viewing or a refund if conditions are impossible.[1] The group is small and the night is long, which is what aurora photography actually needs.
Phone Cameras in Extreme Darkness: What Settings Actually Work
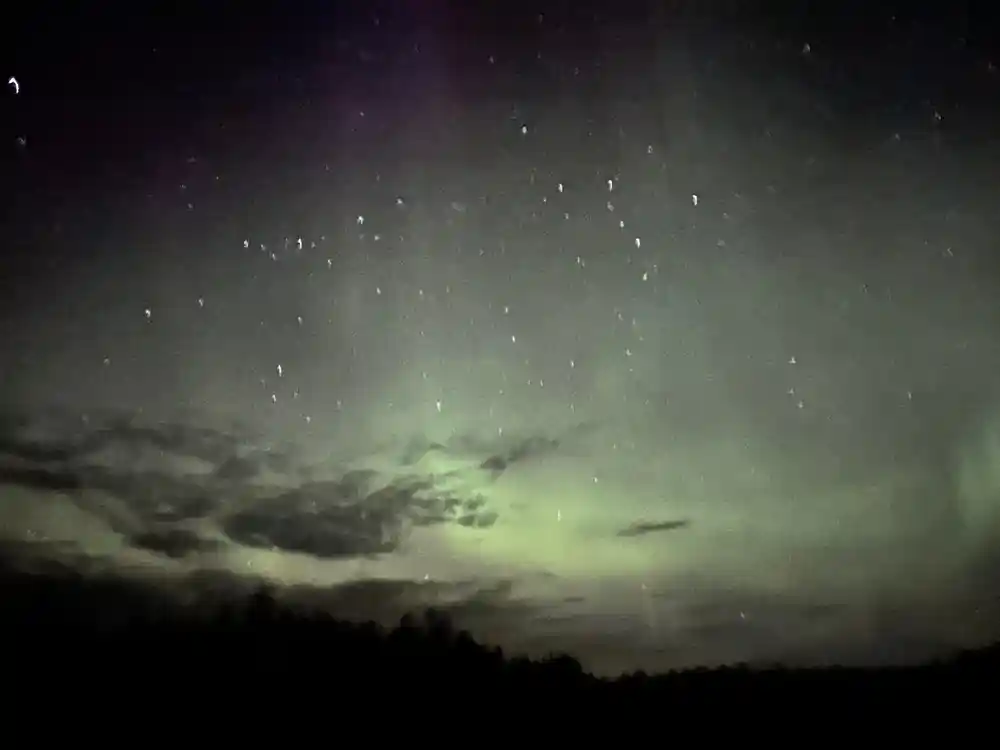
A phone is a perfectly serious aurora camera now. The trick is to stop treating it like a point and shoot and start treating it as a long exposure tool. Use the night mode or the long exposure mode, brace the phone so it cannot move, tap the sky on the screen to set focus, and let the phone stack its frames. Handheld shots of an aurora usually turn into mush; a braced phone often does not.
Two settings matter more than the rest. Turn the flash off, and switch off any pre-flash or selfie light, because a burst of white light in a dark field carries a long way. Then bring the screen brightness right down, or use a dark or red interface if your phone has one. In manual mode, stretch the exposure and lift the sensitivity until the preview looks about right, then take a test frame and check it.
If you are working out how to photograph the northern lights on a phone for the first time, give yourself a rehearsal. In the hotel room, with the lights off, practise finding night mode, setting the timer and locking focus, so your fingers know the route before they are numb. Rovaniemi has visible aurora roughly 8 months a year, from late August through mid-April, so there is usually a night to practise on.[4]
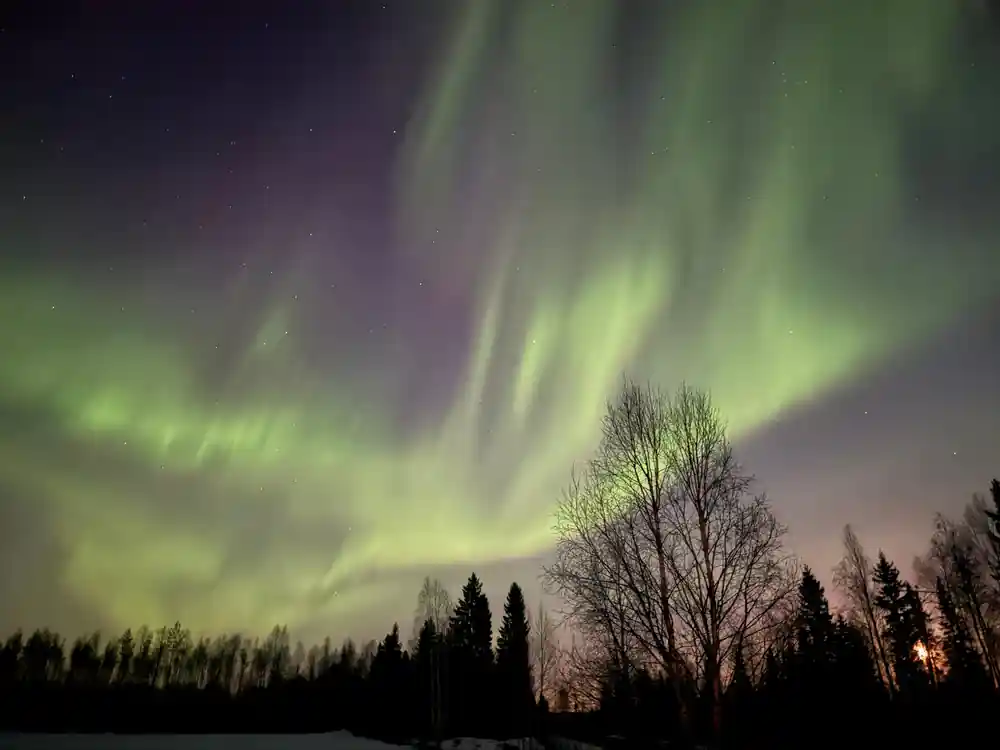
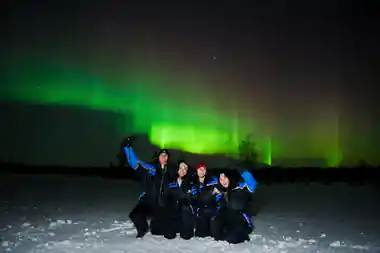
A small group spreads out under a green sky on a Rovaniemi aurora night.
Why Sensors See More Colour Than Your Eyes
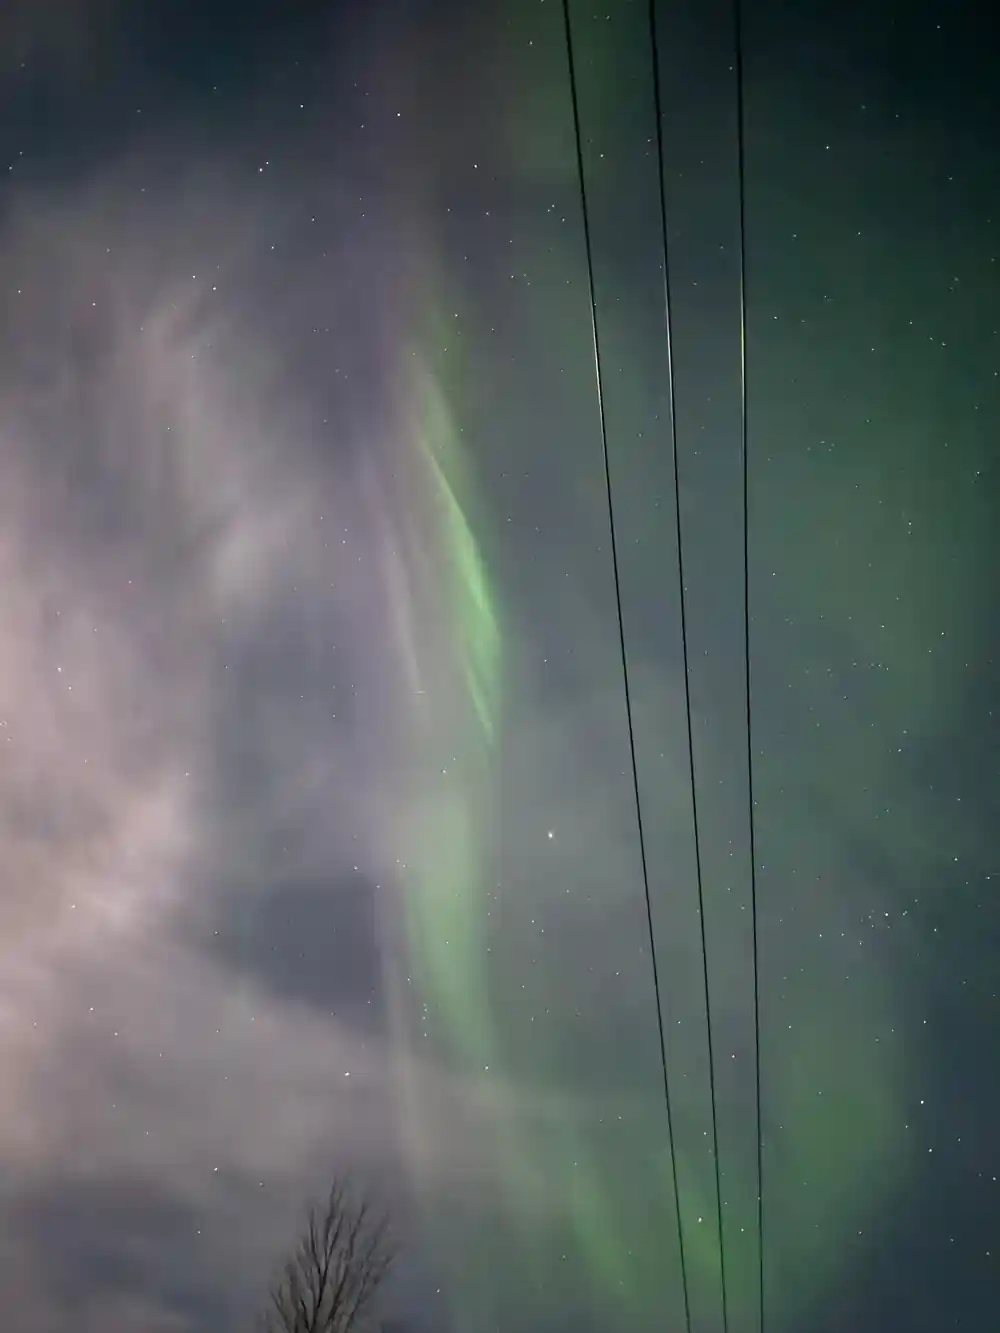
Stand under a bright aurora and you may see something close to white, or a pale green wash. Your camera, given a long exposure, hands back curtains of green with pink edges. The difference is in the eye. Colour vision needs a decent amount of light, and in the dark your eyes lean on cells that barely report colour at all. A camera keeps gathering light for as long as the shutter is open, so colour accumulates in the file.
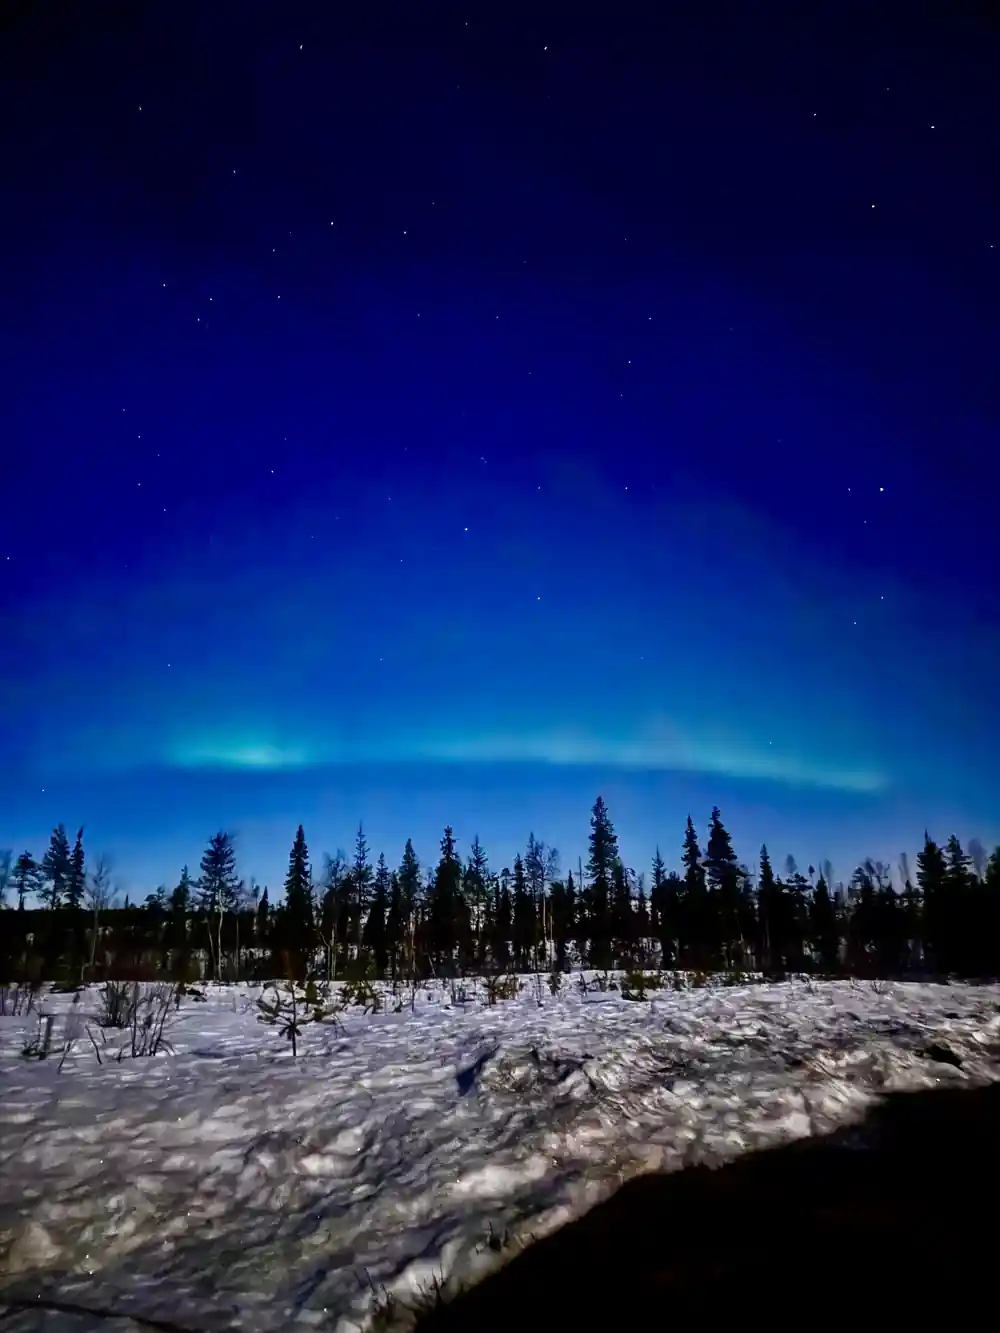
The light itself comes from high above us. Fast-moving electrons collide with atoms and molecules in Earth's upper atmosphere above 100 km (60 miles), and that collision is what lights the sky.[2] The display often fills a wide slice of the sky, and a wide view gives you room to catch the whole curtain rather than a fragment of it.
Solar activity is on your side for a while yet. Solar Cycle 25 is expected to have a double peak, which will extend the window for aurora activity well into 2026.[5] The Kp index, the usual shorthand for how disturbed the magnetic field is, ranges from 0 to 9, and at Kp 0 to 2 the aurora stays far north, quite dim and not very active.[9] Even on a quiet night, it is worth having the camera ready.
Arctic Cold and Battery Drain: Managing Power in Extreme Conditions
Cold is the enemy of every battery you carry. Phone and camera cells lose their appetite in the frost, and a full bar can vanish in minutes once the temperature drops. The fix is boring and effective: keep spares in an inside pocket, close to your body, and swap them in and out through the night. Warm cells recover, so a dead phone often comes back to life indoors.
How cold does it get? In January, Rovaniemi's average temperature is between -30 and -15 degrees Celsius.[3] That is weather to plan your own layers for, not just your camera. An insulated thermal suit used for Arctic activities can be rated to minus 40, but a damp cotton base layer defeats its insulation.[8] Wear wool or synthetic next to your skin, and change out of anything sweaty before the night drive.
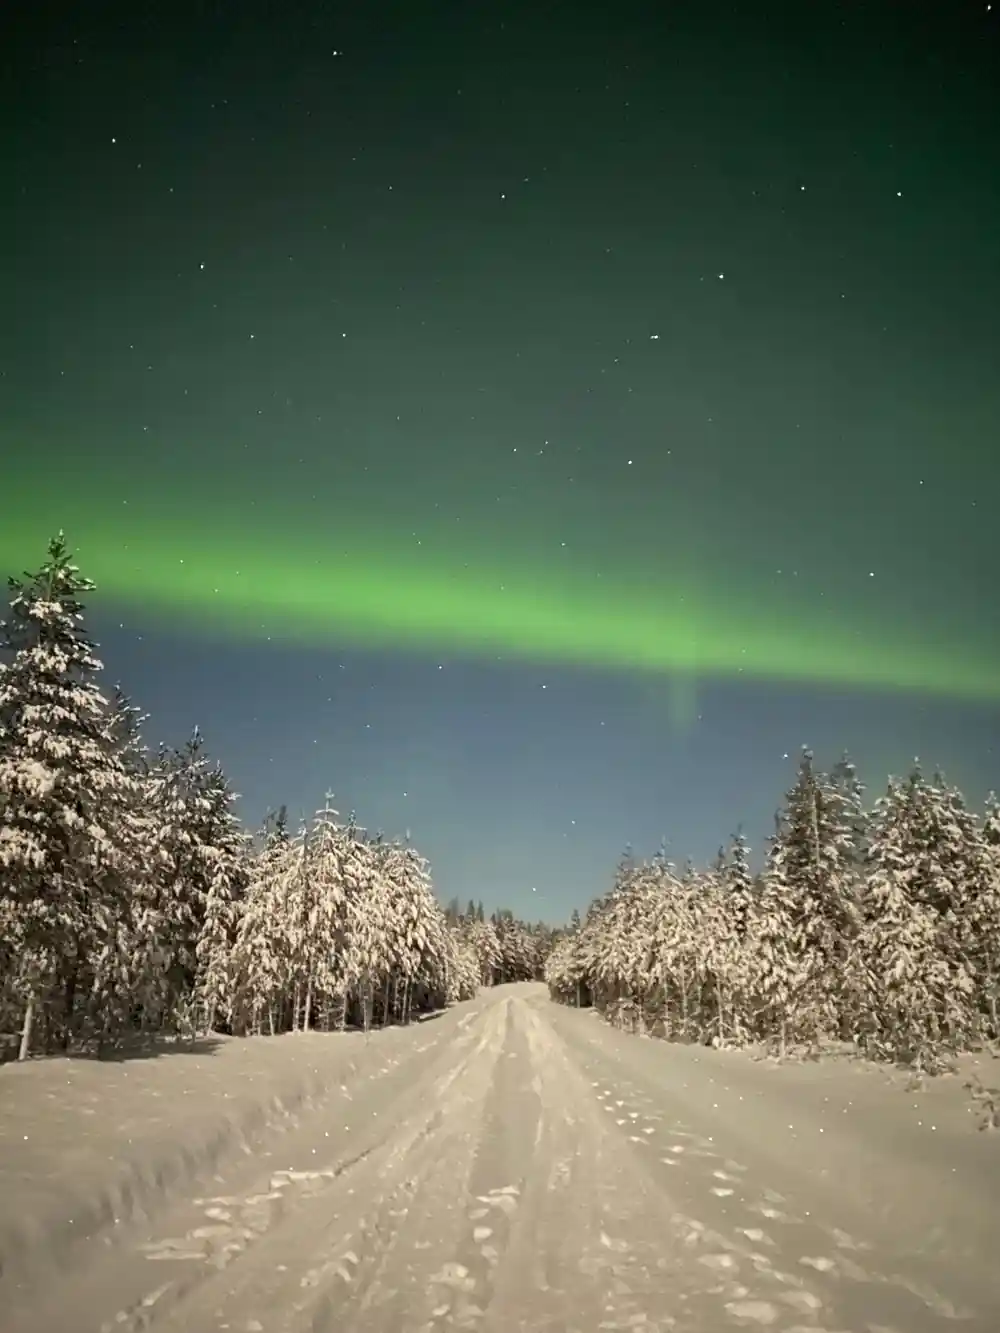
In Rovaniemi the polar night lasts for 2 days.[10] Outside those days there is daylight in winter, which leaves the aurora hours for the night. Snow, when it is there, reflects the aurora and brightens the foreground of a photo. Push a tripod into snow rather than onto ice, and keep the lens cap in a pocket, where you will find it again.
from US$228
The Northern Lights Tour with Guaranteed Sightings runs 8 hours in a group limited to 8 participants, with a guide in English.[1]
Tripods on the Aurora Hunt: Practical Value and Real Constraints
A tripod is the single biggest upgrade for aurora photography. It holds a phone or a camera still through a long exposure, and it frees your hands for gloves and a hot drink. The constraints are real: a tripod is awkward on a bus, it needs room in deep snow, and in a tight group it becomes a trip hazard in the dark. Tell the guide where yours is standing.
Small legs beat big legs in snow. A tripod that sinks needs a wider stance or something flat under its feet. Hang your bag on the hook underneath for stability, and weigh the whole thing down if the wind is really pulling at it. If your phone has no tripod thread, a cheap clamp or a small flexible mount will do, and a bean bag on a rock is a respectable fallback.
The guaranteed sightings tour keeps the group small, limited to 8 participants, which leaves room for tripods.[1] If you are riding a snowmobile instead, leave the tripod behind: the point of that kind of night is covering ground, not setting up.
Screen Glare and Flash Contamination: Protecting Everyone's Shots
A phone screen at full brightness in a dark field acts like a small lamp. It ruins other people's night vision, it can spill light into someone's long exposure, and it makes you hard to stand beside. Dim the screen, turn the phone face down when you are not shooting, and step away from the group if you must check a shot properly.
Flash is worse. A flash on an aurora photo lights the back of the person in front of you and very little else. Turn it off, along with any pre-flash setting, and keep head torches pointed at the ground or at your own feet. If you need light for a lens change, use the lowest setting on a headlamp and cup your hand around it.
Your eyes need time to adapt as well. Give them a few minutes without white light and they will show you more of the sky, which helps you choose a composition and spot the faint structures that only appear on a long exposure. On a long night out that patience pays off twice: better pictures, and a better memory of the lights themselves.
Portraits with the Aurora: Capturing People and Lights Together
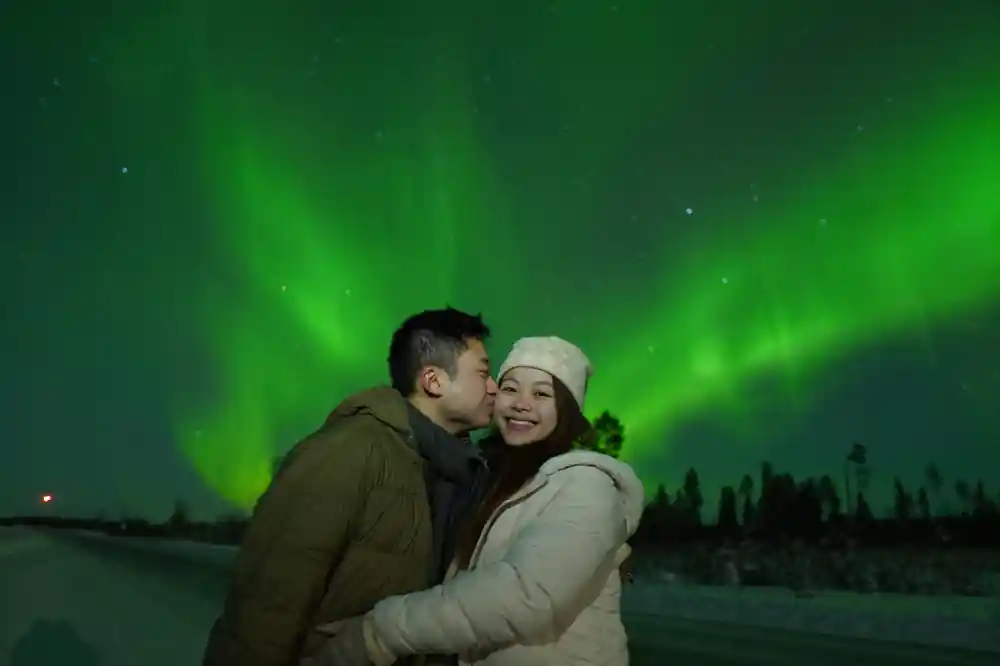
People in the frame make a picture feel like a memory rather than a screen saver. The catch is that a long exposure and a still person do not naturally agree. Ask your subject to hold still and breathe out slowly, and tell them exactly when you are pressing the shutter. A quick touch of torch light on your subject during the exposure can hold them in the frame.
Framing matters. Put people low in the frame and let the aurora fill the sky above them, and lean on silhouettes when the display is bright. Shielding the lens from a nearby torch keeps the contrast clean. If your hands are cold and you are struggling, ask the guide to take the shot: they know the tricks and they know the spot.
There is a story behind the photo, too. Finnish tradition calls the northern lights revontulet, literally meaning fox fires, and a Sami legend says the lights are caused by a magical fox running across the Arctic fells.[11] If you want a landmark in the frame, the Arctic Circle runs through Santa Claus Village, eight kilometres north of the city centre, and it is clearly marked there.[12]
From-prices on Rovaniemi aurora nights
Compare aurora night prices
US dollar from-prices per person from listings[1][6][7][13]. These listings publish one per-person from-price.
When to plan your aurora nights
Your aurora photo night
Charge and pack
Fill every battery, bring a spare, and put a microfibre cloth, a tripod and warm gloves in the bag before you leave.
Set up in the light
Switch the camera to manual, lock focus near infinity, dim both screens and turn the flash off while you can still see.
Shoot long and steady
Brace the phone or camera, use night mode or a long exposure, and take a test frame before you commit to a composition.
Check and adjust
Look at the test shot, then change one thing at a time. Warm the batteries back up in an inside pocket whenever you can.
People in the frame
Ask your subject to hold still, count them in, and light them briefly if you want more than a silhouette.
Rovaniemi: Northern Lights Tour with Guaranteed Sightings
from US$228Reserve now & pay later